Unity C# Tutorial | Simple Flying Control

Tutorial’s objective
Create a simple flying control script
Welcome to this super simple tutorial. So in this tutorial, I will show you how to make a flying control script. This tutorial is made with Unity 2021.3.7f1. You can use any version but I’m not sure about the versions that are older than 2018. Feel free to download the starting scene here to follow along.
Once you’ve downloaded the scene, There is a folder named Complete Scripts. You can get a complete script just in case you want to compare it with your code if errors happen.

Create a script
Create a new script and name it with whatever name you one. I name it FlyingControl.cs. Delete every function. Let's start fresh.

Declare Variables
Ok, now we have an empty FlyingControl class extension of MonoBehavior. To control the aircraft we have to get player input. Before that, we need to declare some variables that are important to move the aircraft.
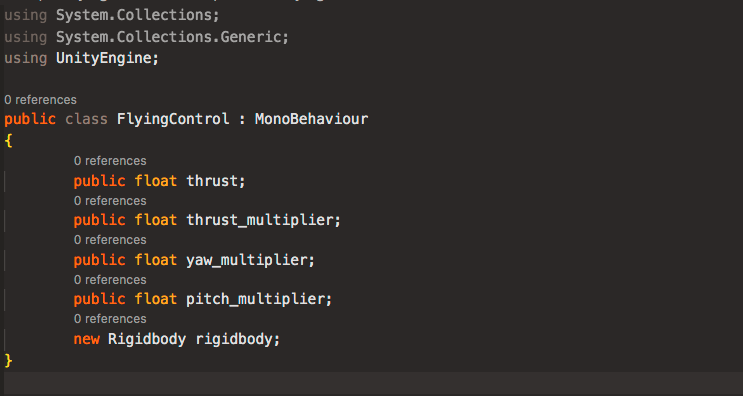
- thrust: to get the thrust force to move the aircraft forward
- thrust_multiplier: to multiply the thrust value
- yaw_multiplier: to multiply the player input yaw value. (Rotation around the Y axis)
- pitch_multiplier: to multiply the player input yaw value. (Rotation around the X axis)
- rigidbody: rigidbody to hold Rigidbody(physics) component data for us to use in this script
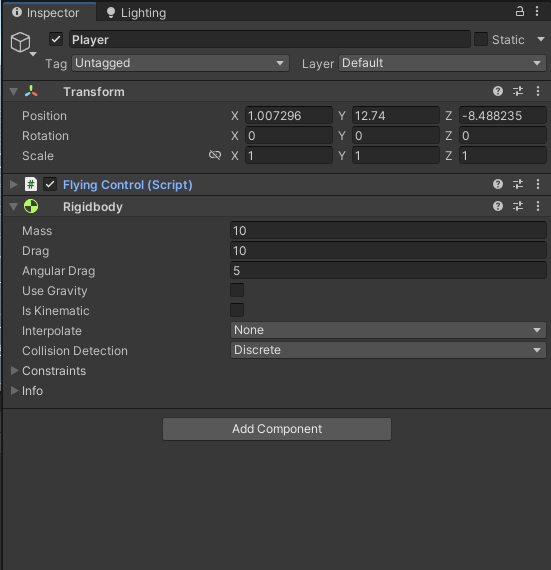
Make sure your player gameobject has a Rigidbody component attached.
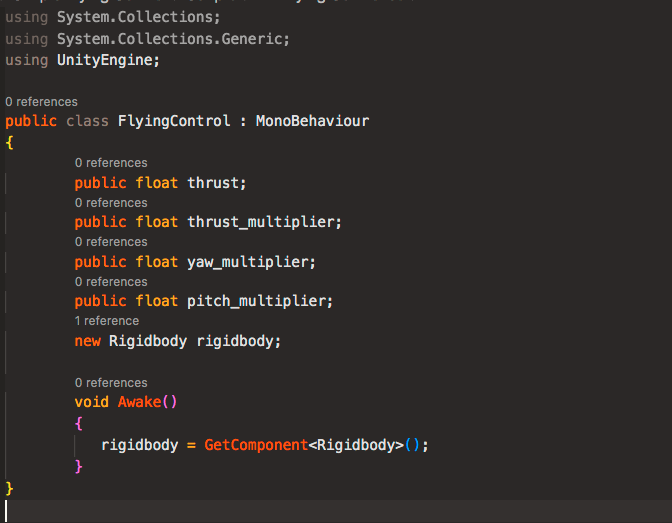
Awake method
The Awake method is called once when the script instance is being loaded. Here in this function, we’re going to get the Rigidbody component and store it in our newly declared rigidbody variable. We do this by invoking the GetComponent with the component name.
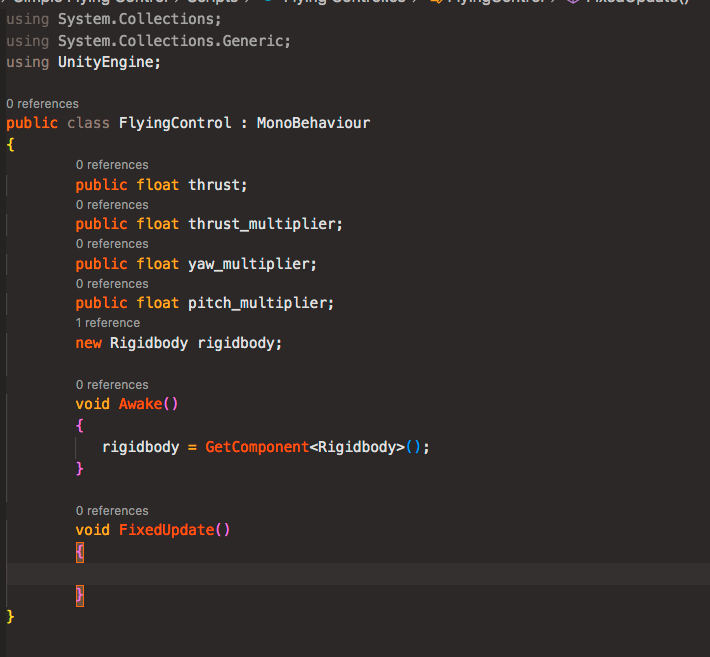
FixedUpdate method
This is the method that does the most job for our FlyingControl script. When dealing with Rigidbody (physics) It’s better to use FixedUpdate. Compared to the Update method which is called every frame, FixedUpdate is called every fixed frame-rate frame at every 0.02 seconds (50 calls per second). This makes the physics movement independent from our machine frame rate.
Get Player Input
We’re going to use ASDW or cursor control keys to control the aircraft. We do this in the FixedUpdate method. We then store the inputs in the pitch (Vertical)and yaw (horizontal) variables separately. The way to get directional player input is by invoking Input.GetAxis with an axis name. Unity has both a Horizontal and Vertical input axis defined by default.
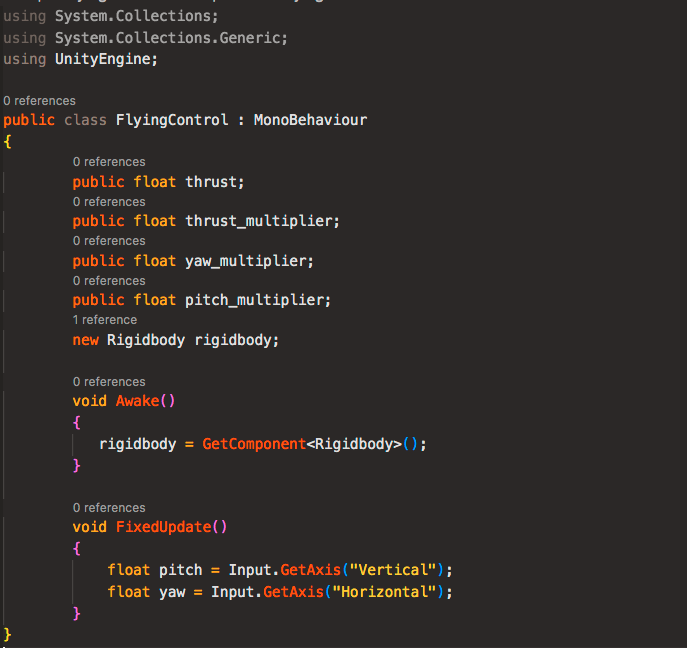
Control the aircraft
In order to make move forward, we have to add force into the aircraft. This can be done using the AddRelativeForce method from The Rigidbody component. The AddRelativeForce needs 3 parameters for this, force along the local x,y, and z axis.
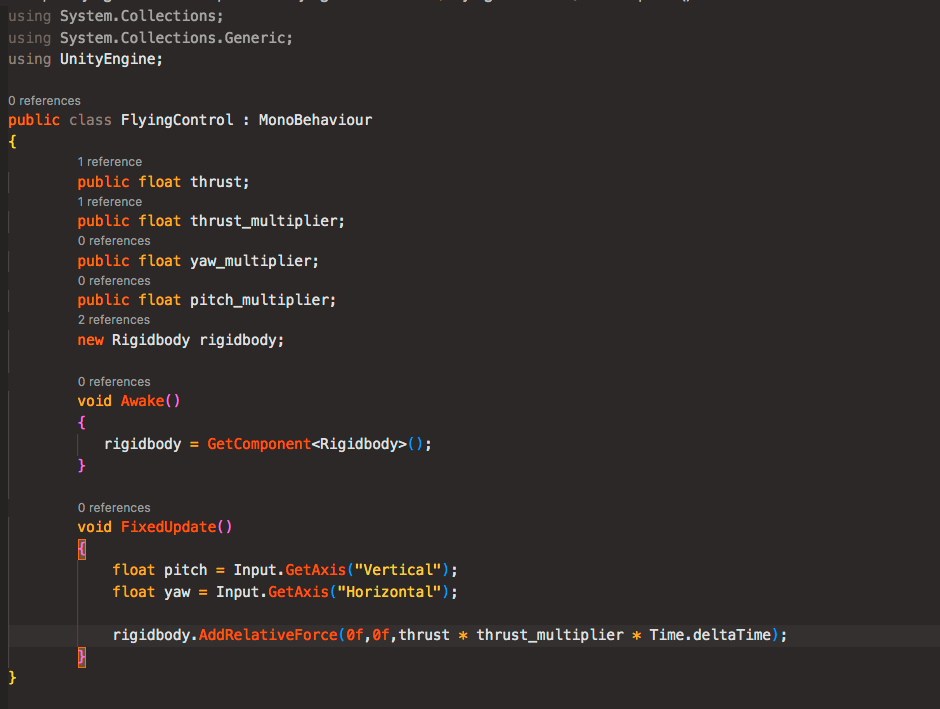
Since we only need the force along the z-axis, we can let the first two parameters be 0.
- The forces that we add along the z-axis are thrust * thrust_multiplier * Time.deltaTime.
With thrust_multiplier we can tweak the force value whenever we need to decrease or increase the aircraft speed. Then to make it smooth, we time that value with the Time.deltaTime.
Time.deltaTime is the interval in seconds from the last frame to the current one.
Before we can click the play button make sure to give our variables some value to make the aircraft move.

Click play and we can see the aircraft move forward.
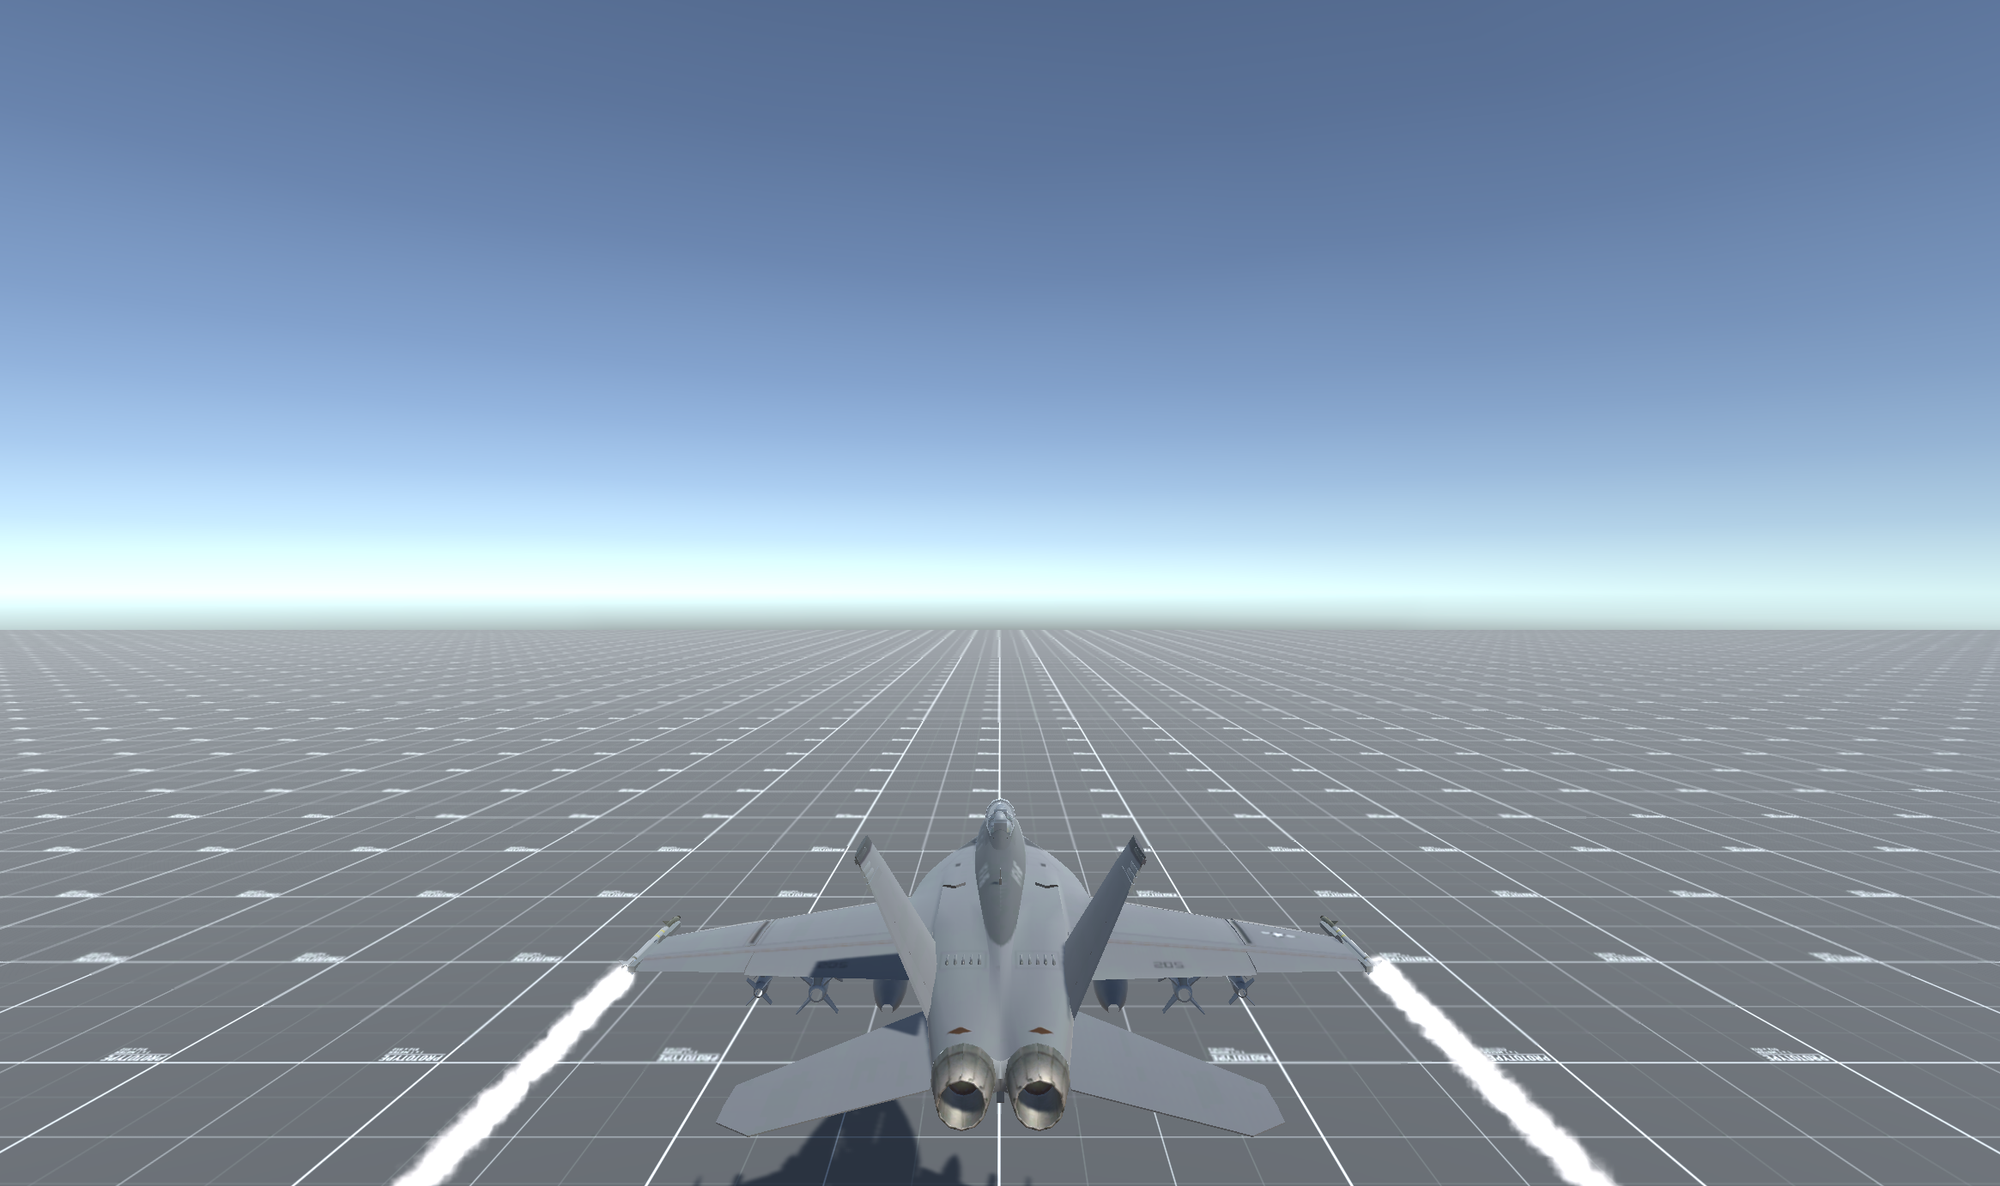
Now we’re going to give it a proper up and down side-to-side maneuverability function.
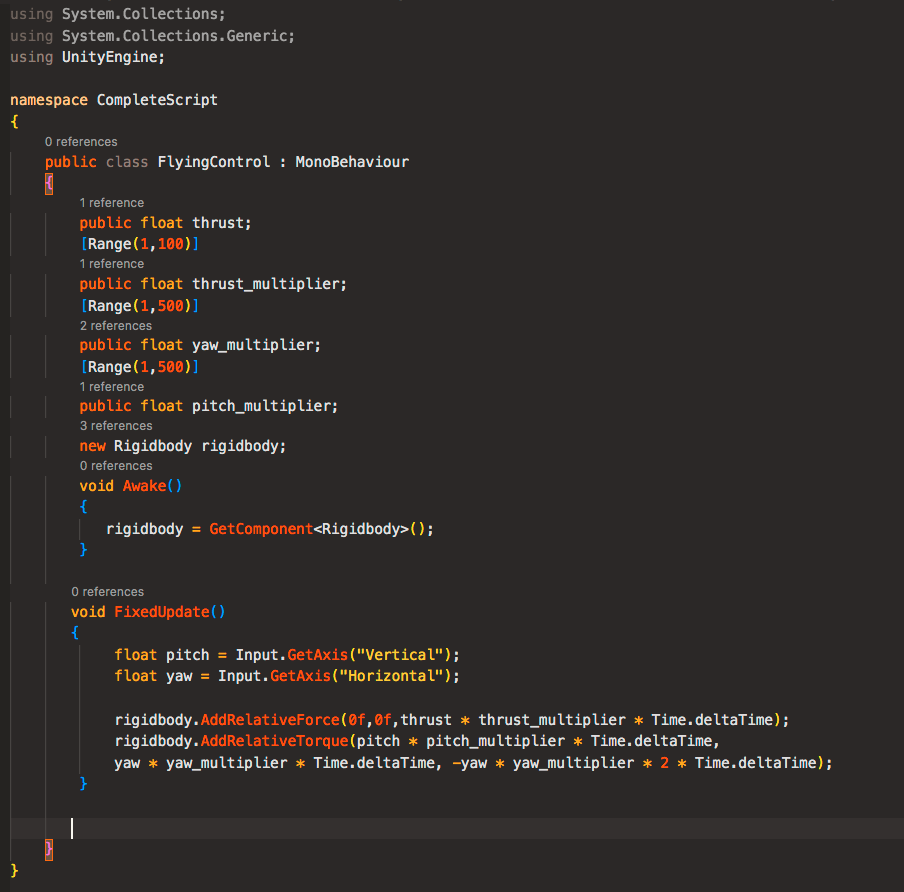
We can use the AddRelativeTorque method. Just like the AddRelativeForce method, it requires us 3 parameters. Size of torque along the local x,y, and z-axis.
- As for the local x-axis, we give it pitch(our vertical player input W, S, up, down arrow keys) * pitch_multiplier * Time.deltaTime size of torque. This will make the aircraft move up and down.
- On the local y-axis, we give yaw(our horizontal player input A, D, right, and left arrow keys) * yaw_multiplier * Time.deltaTime. This will make the aircraft steer right and left horizontally.
- On the local z-axis, we give -yaw * yaw_multiplier * 2 * Time.deltaTime. Why give the negative yaw is because we want to inverse the player input otherwise left key will be for the right roll and vice versa.
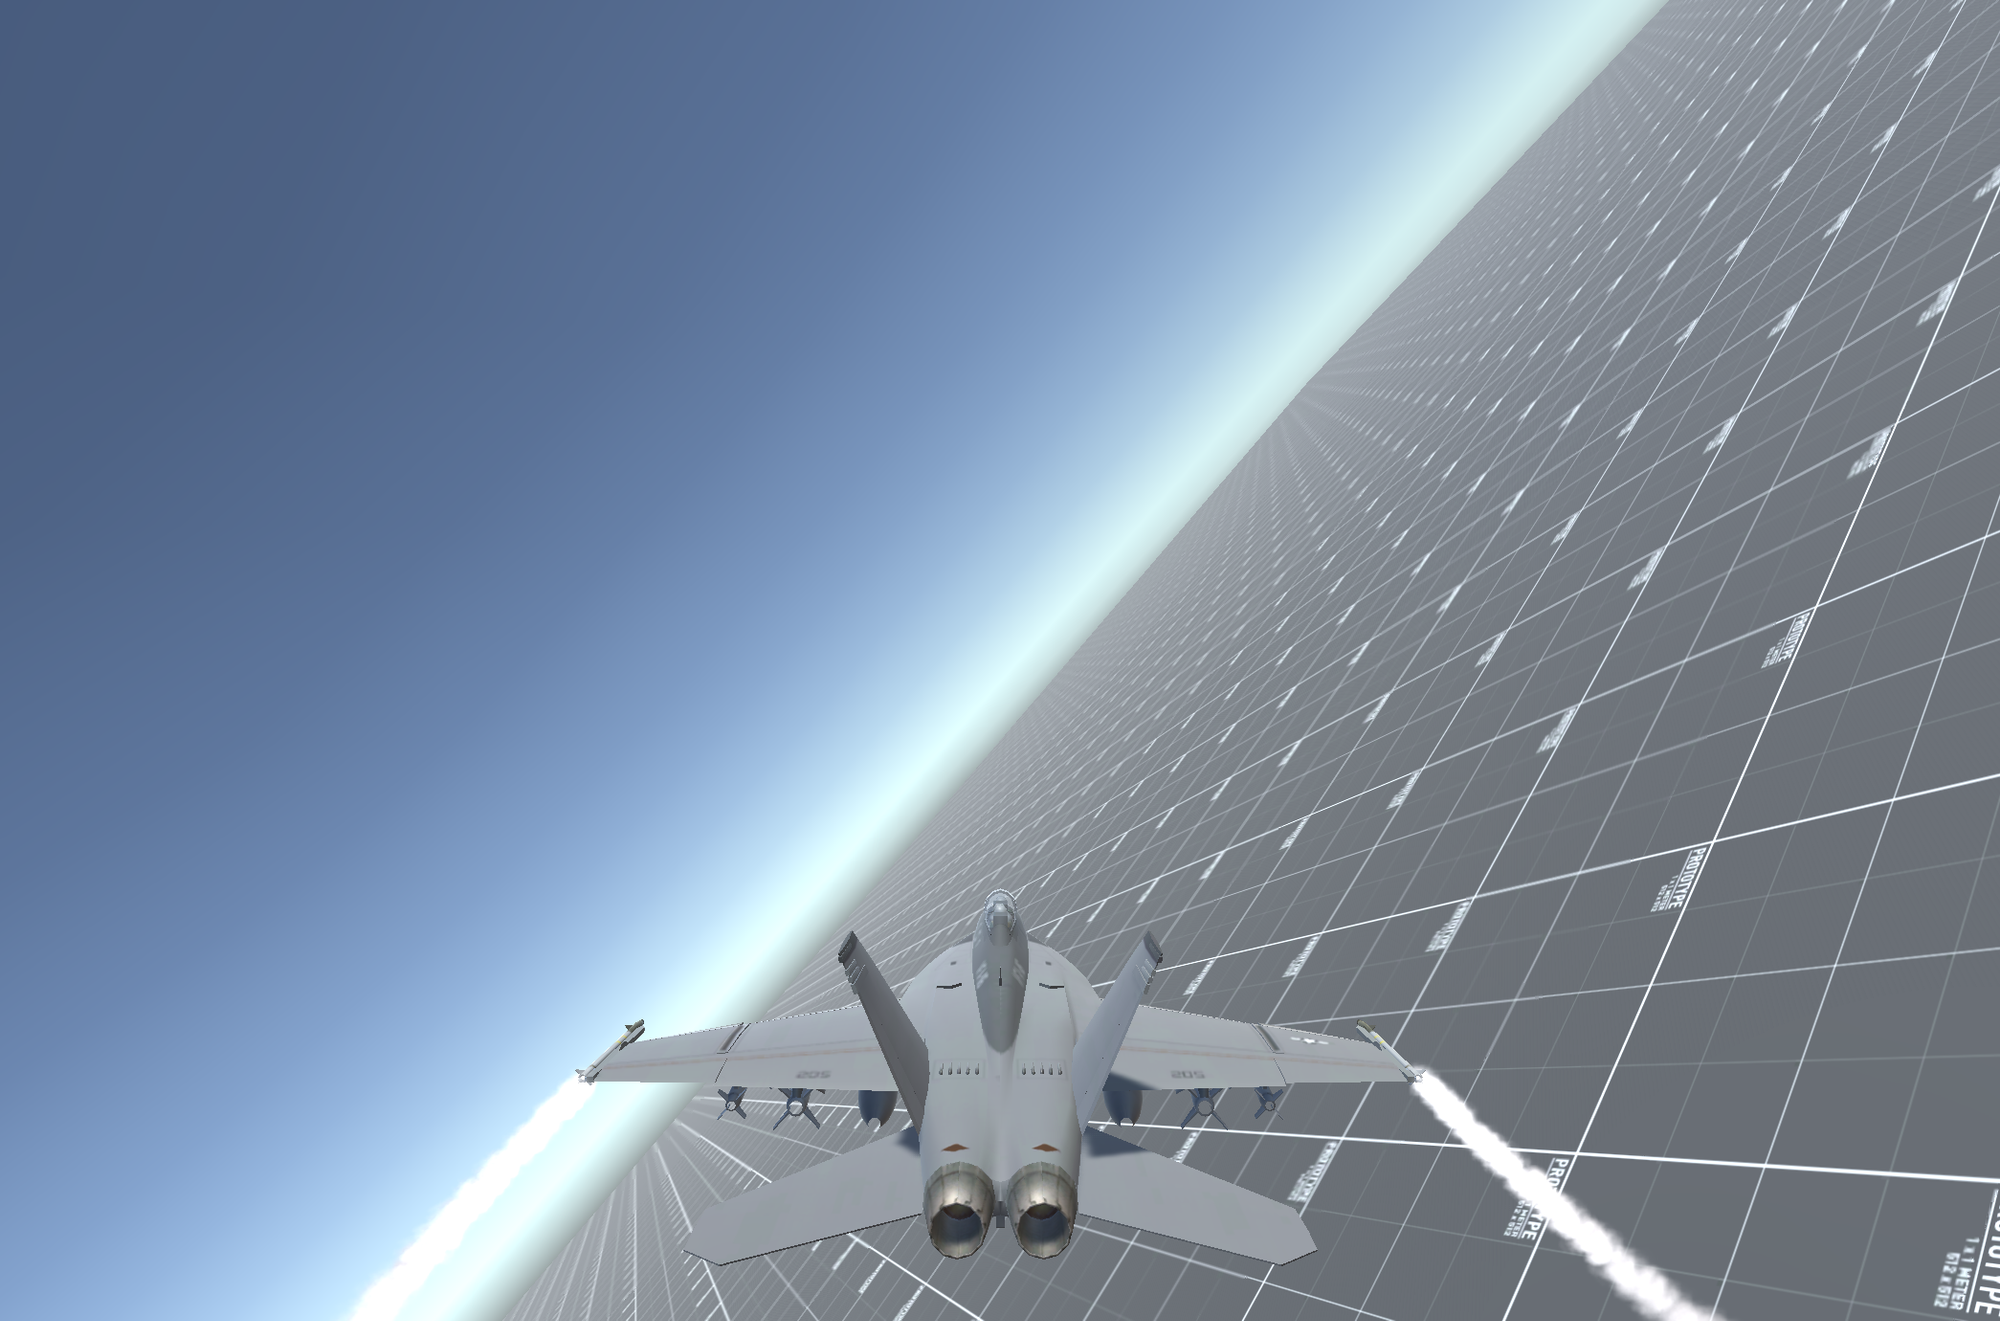
That has finalized our script. Try to play and tweak the script value if it’s too slow or fast. I hope this helps and you get to learn new things. Ciao!